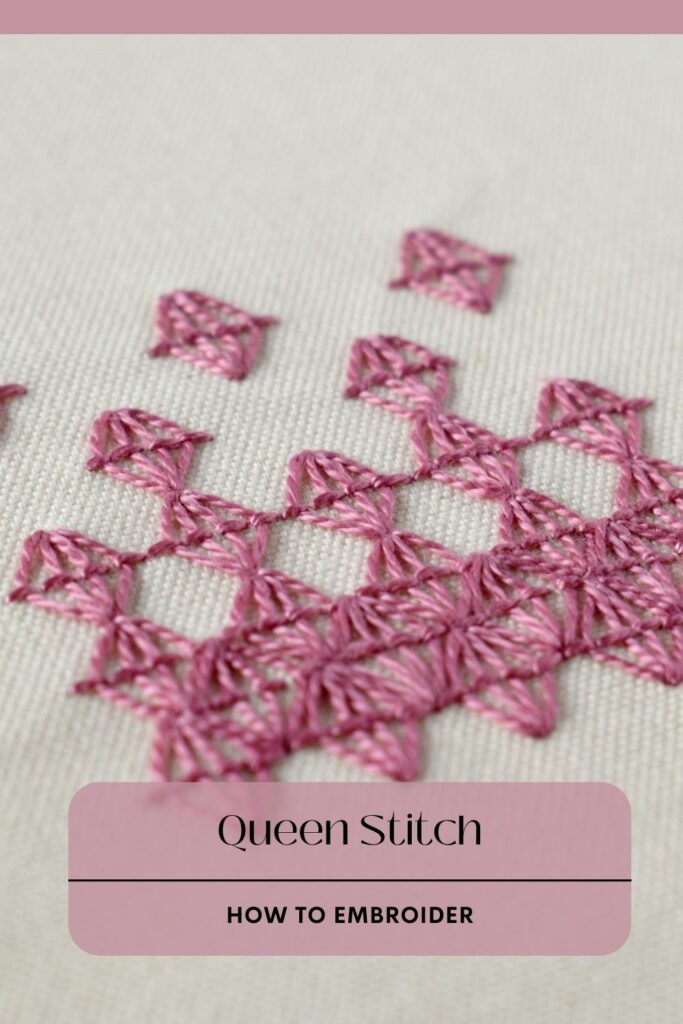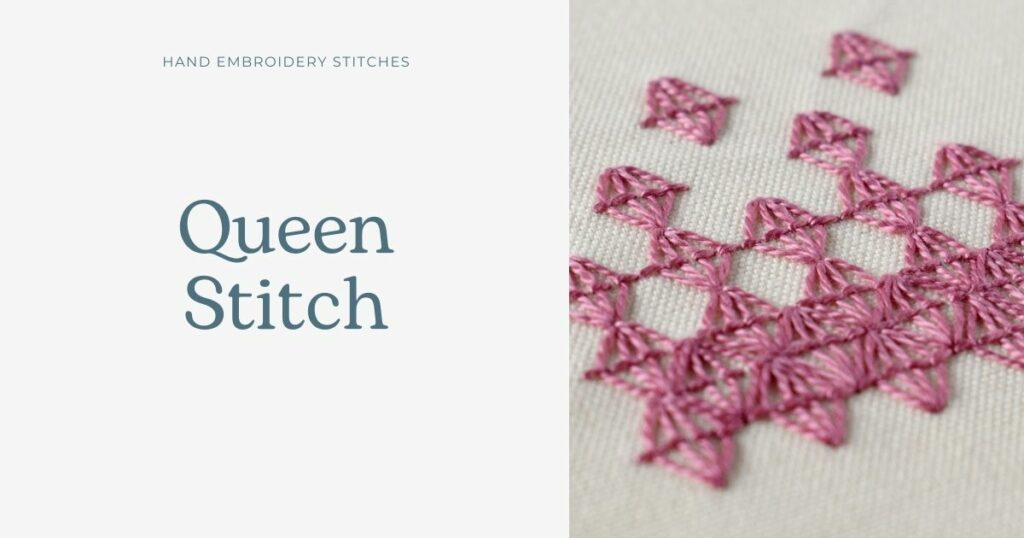
Point de Reine
Le point de reine est une technique de broderie manuelle à fils comptés issue du travail sur canevas. Quatre points droits sont couchés d’une manière particulière pour former une figure en forme de losange. Ce point est principalement utilisé dans la broderie à fils comptés. Tu peux néanmoins l’adapter et l’utiliser en broderie de surface.
Autres noms du point de reine
Ce point de reine complexe à fils comptés (américain) est également connu sous le nom de point rococo (anglais) et de point de la Renaissance.
Applications du point de reine
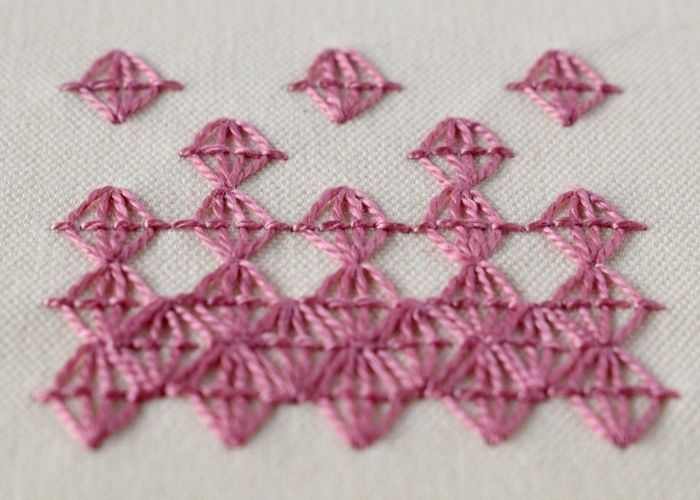
Le point de reine simple crée une forme de diamant décoratif. Tu peux donc utiliser des points simples pour ajouter des éléments décoratifs ou créer de petits fruits ou baies dans la broderie botanique.
Positionné en rangées, le point de reine permet de créer de magnifiques motifs de bordure. Pour la broderie non comptée, tu peux plier les lignes ou les points pour créer des bordures décoratives arrondies.
Traditionnellement, dans les travaux sur toile, le point de reine est un point de remplissage. La surface remplie de point rococo aura une belle surface texturée.
Autres points de couchage
- Cercle Couché
- Couchage de la face inférieure
- Couchage jacobéen
Apprends à broder au point de reine
Suis le tutoriel étape par étape avec des photos détaillées ci-dessous, et tu apprendras rapidement le point de reine. Si tu es un apprenant visuel, regarde une leçon vidéo dans le tutoriel ou la chaîne YouTube Practical Embroidery pour apprendre à piquer cette broderie à la main plus rapidement.

Comment broder le point de reine
Tutoriel de broderie à la main étape par étape
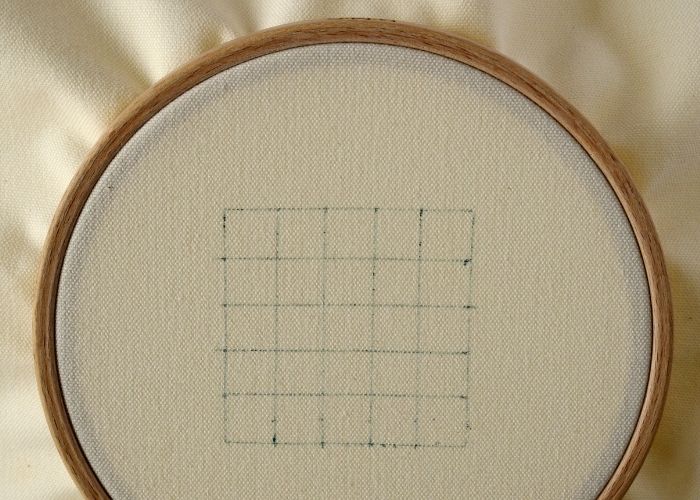
- Mark the grid
I drew 1×1 cm squares.
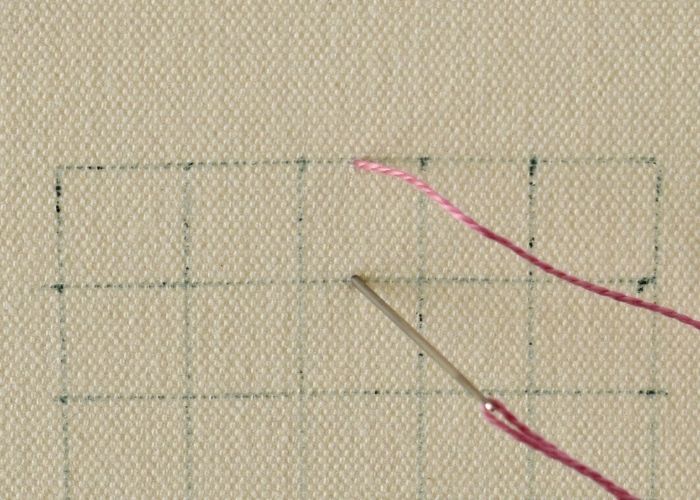
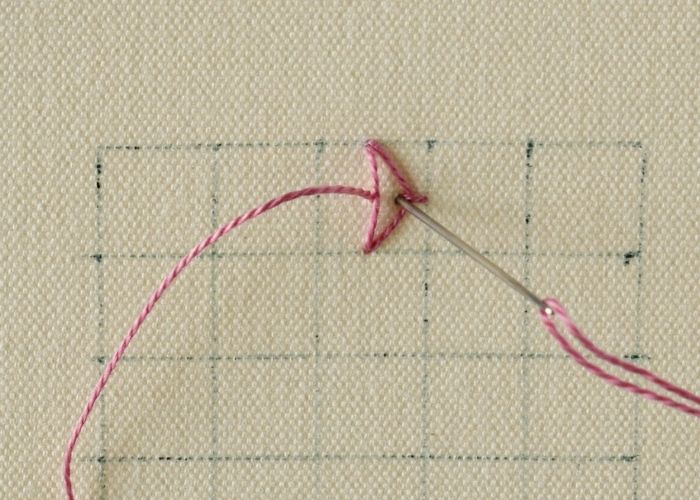
- Start embroidering
Make a straight stitch from top to bottom in the center of the square.
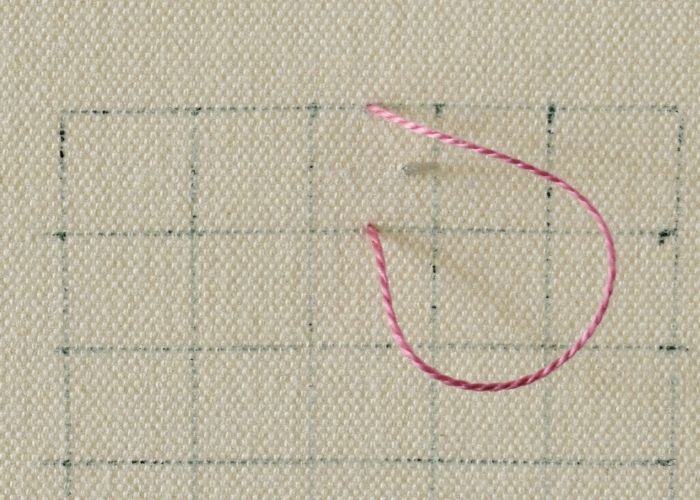
- Make couching
Take the needle up at the mid-height of the square, 1/4 from the right edge.
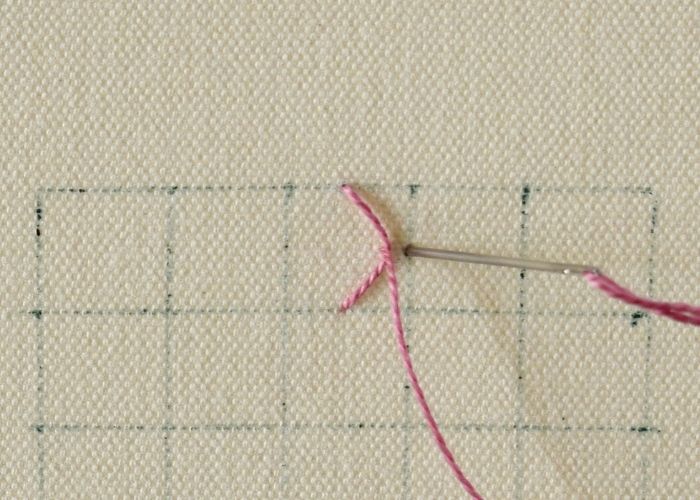
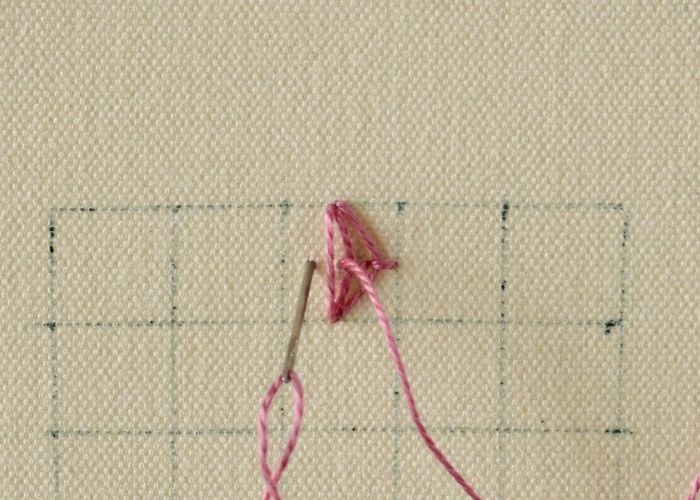
- Add a horizontal couching stitch
- Second stitch
Make one more vertical stitch, using the same starting and finishing points.

- Add couching
Add a horizontal couching stitch to the left from the first one.
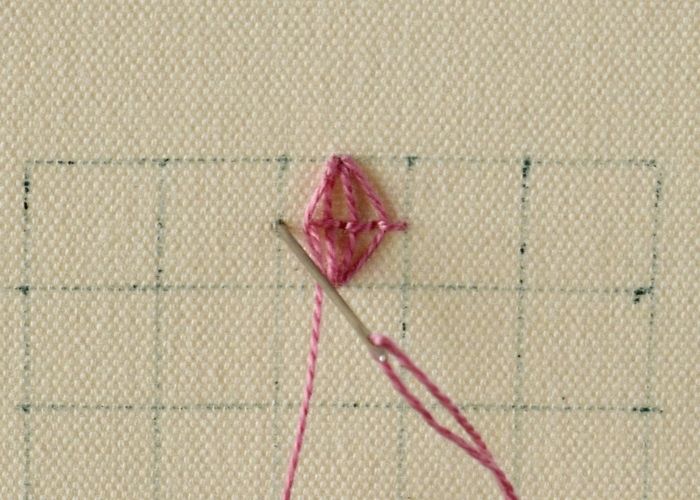
- Third stitch
Make the third stitch. It is positioned to the left from the center.
- Fourth stitch
The final straight stitch is couched on the left side of the square. This fills the square shape and forms a diamond shape of the Queen stitch.
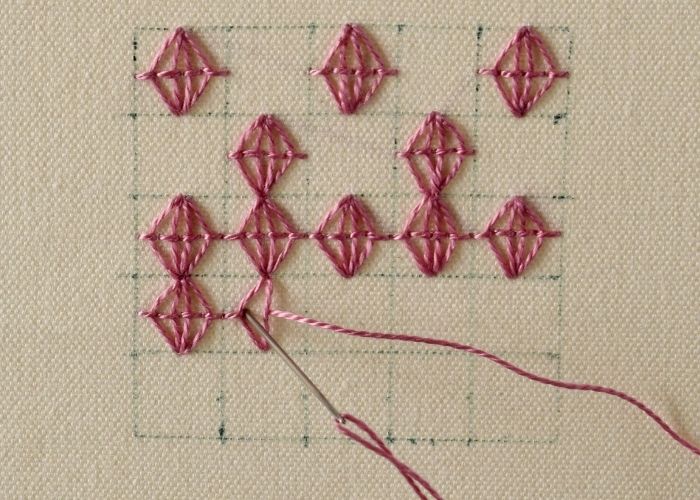
- Creating borders
To create decorative borders, position the line of Rococo stitches on one row of the squares.
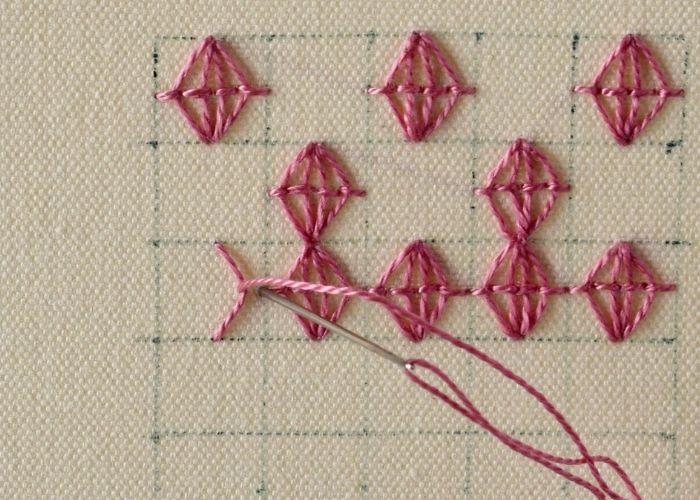
- Semi-covering filling
Place the rows of Queen stitch one under the other. This will create a half-covered chess pattern of stitches. Keep in mind that you can embroider Renaissance Stitch in any direction. Left to right or right to left is the equally proper way of embroidery.
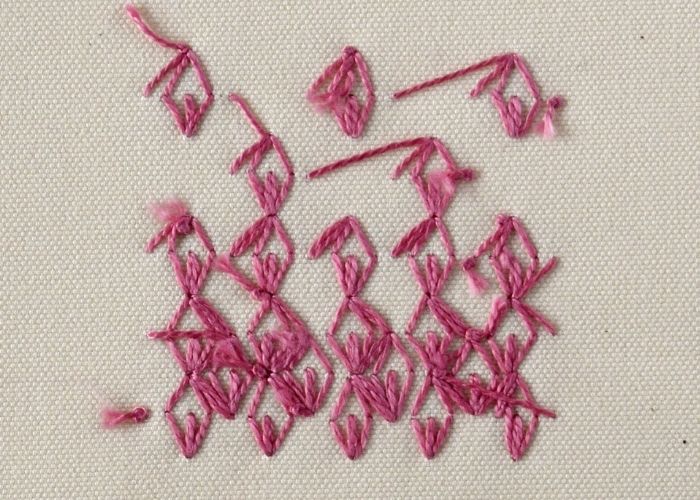
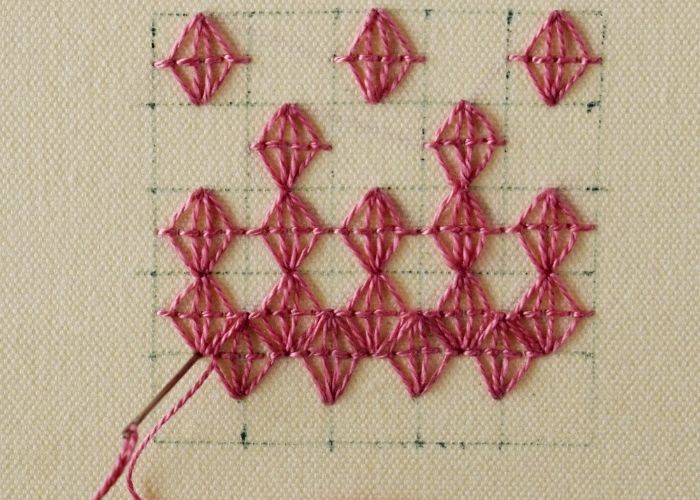
- Fully covering filling
Start with a row of stitches. Then, add a second row, but this time, it is offset. The starting point of the second row is the point of intersection of the horizontal couching stitches of the two stitches from the first row.


Tutoriel vidéo
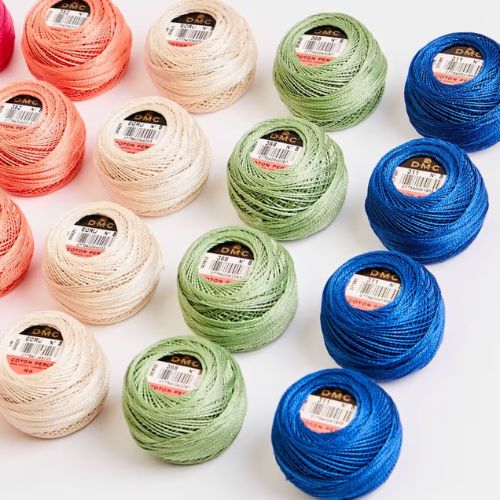
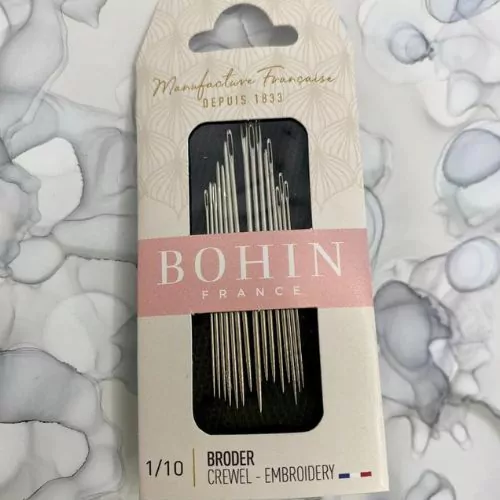
Outils et matériel que j’ai utilisés pour ce sampler
Avis de non-responsabilité. Pour couvrir les frais de création de modèles de broderie gratuits et de tutoriels vidéo pour ce blog, il m’arrive de faire des liens vers des produits. Je te prie de croire que ces liens sont des liens affiliés. Si tu choisis d’acheter par l’intermédiaire de mes liens, alors MERCI – cela me permettra de continuer à le faire.


Quelle est la prochaine étape ?
Si tu as envie d’explorer d’autres points de broderie à la main, consulte la page Points et techniques pour obtenir la liste des autres points fantastiques disponibles sur mon blog. Des classiques intemporels aux tournures modernes, tout un monde de points de broderie t’attend pour que tu les explores et les maîtrises. Alors, prends ton cercle et ton aiguille, et piquons notre chemin vers le bonheur créatif !
Ne manque rien !
Suis-moi sur YouTube, Instagram, Facebook et Pinterest. Ou pourquoi ne pas t’abonner à la newsletter de Practical Embroidery et recevoir des conseils de broderie directement dans ta boîte de réception toutes les quelques semaines ?
Besoin d’aide ?
Les 10 points de broderie à la main à connaître absolument est un cours en ligne gratuit destiné aux débutants.